Snowy Woods Quilt - Part II
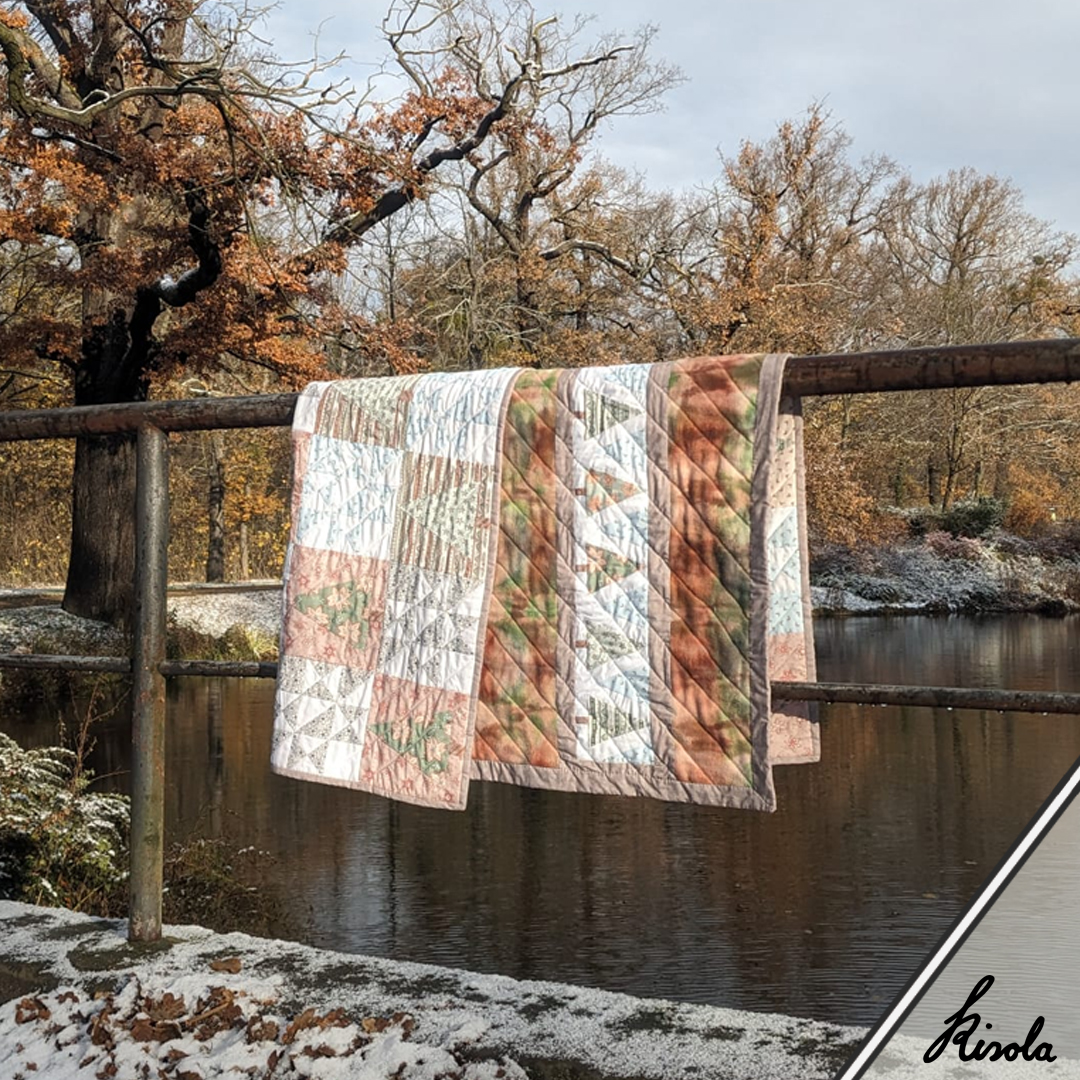
Onward to the second half of the winter quilt project! So far, the patchwork (based on Jill Miller's "Snowy Woods" design) is sewn, a fluffy, brushed fabric has been chosen and dyed for the backing, and the "sandwich" of fabric layers has been prepared for quilting. I even included a little last minute after quilt made from leftover fabric from piecing the front patchwork.
(Click here to read about that in Part I.)
Now it's time to get back to quilting, then finish the edges of the quilt and take care of a few final touches. And of course, we have to take a look at the finished result!

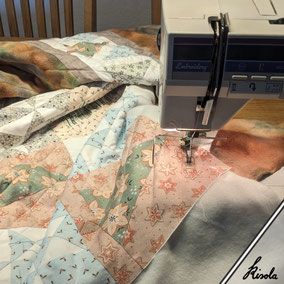
To start, here's a picture of the current state – patchwork, batting, and backing with the spontaneously added afterquilt are combined into a "sandwich" of fabric layers that has been roughly sewn together with big hand stitches.
Now we can begin quilting ! Can we?
Well, first we need to choose a quilting pattern, which means the lines or motifs stitches to hold the layers together.
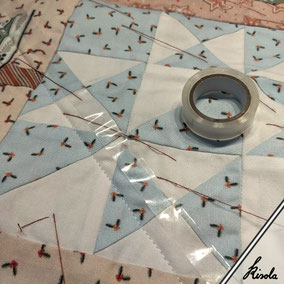
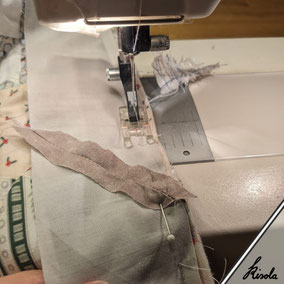
I want to sew straight lines diagonally across the quilt, matching the diagonal arrangement of the blocks.
Since not all the patchwork seams turned out perfectly straight, I'll try to create a more reliable guide.
Marking the lines with a pen would be tedious, and holding a quilting ruler is impractical . . . so my first attempt is a strip of narrow, clear tape, and I'll simply sew along the edge.
Let's see if that works.
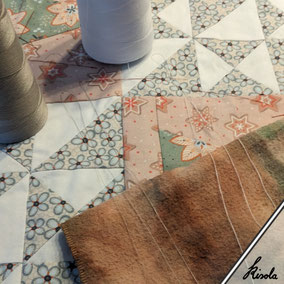
But wait – before the first seam can be sewn, a suitable and matching sewing thread has to be chosen.
I usually use conventional sewing thread, the colour of which I want to blend in well with the patchwork and not be too noticeable. Therefore, this time I've opted for white thread, which won't be very visible on the large front panels, especially the pure white but will create a contrasting line effect on the back.

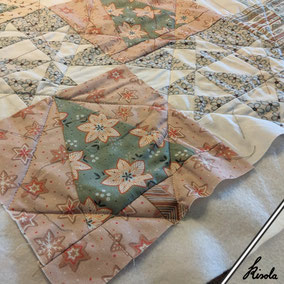
The seams didn't turn out perfectly straight, but overall I'm satisfied with them so far. The adhesive tape strips can easily be reused several times which is a bonus point in my opinion.
The quilting blends in well with the patchwork and will be complemented in the next step with perpendicular diagonals to create a stitched checkerboard pattern on the quilt.
. . . or at least that was the plan.
Unfortunately, it turned out that the basting (hand stitching the fabric layers together) hadn't gone quite as precise as planned and as it should be.
Minor inaccuracies in the patchwork due to fabric pieces on the bias contributed as well to an unsightly distortion of the top layer around the edges. This simply won't do !

Especially at the intersections of the quilting seams, small and big creases appeared on the backside where the fabric hadn't been laying completely smooth when basting or had shifted without me noticeing during sewing.
The quilt would still be nice and warm this way, but the sewing flaws would probably bother me until the very end of time.
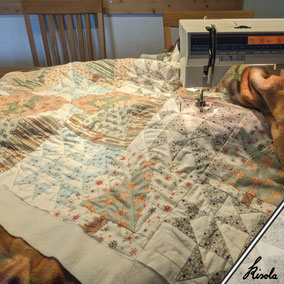
So after several hours of unpicking seams, undoing basting, adjusting layers, and re-stitching the basting, my quilting attempt number two could finally begin.
I decided against the checkerboard pattern and opted for only parallel, diagonal seams instead.
I also abandoned the tape technique. With the new solution, I'll show you next, the second attempt went just as smoothly as before if not better !

My sewing machine's presser foot doesn't have a way to attach the guiding bar I dug out of my machine's accessories box by chance. But that's nothing a few rubber bands can't solve!
This small metal bar can be adjusted to a specific position. While sewing, if the point of the bar follows the previous stitches or another mark, it's really easy to sew parallel lines.
In no time at all, the quilt is all quilted. It's best to work from the center outwards to a corner – always alternating the stitching direction back and forth to prevent the fabric from warping only in one way.
Once I reached the corner, I then quilted from the center outwards to the opposite corner, stitching line by line by line.
And just like that, the last seam is complete.
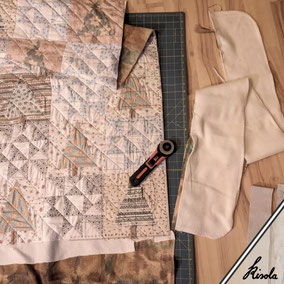
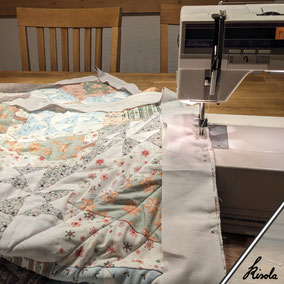
Things always get a little intimidating when the rotary cutter comes into play again. Now the quilt-to-be has to get a little trim all around the edges.
Excess material from all layers that is mostly at uneven lengths will be cut off to create straight edges. Those can then be neatly and evenly covered with a separate strip of fabric.
This is the final major step for making a quilt, that's called binding.
I save the cut off material for later use, for example in a scrap project.

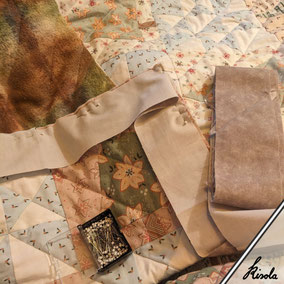
Choosing the right fabric for the binding edge of the quilt is crucial for a harmonious overall look. The fabric quality, in turn, is important for a long-lasting result. A fabric that is too thin and delicate would wear out very quickly!
Armed with some scraps of patchwork fabric for checking colour compatibility, I went to a local fabric store and chose a warm gray faux-solid, woven cotton fabric that is neither too bold nor too boring.
At home, I visually and tactilely compared the gray cotton fabric with the existing, protruding edges of the backing fabric.(I actually checked this before trimming - and decided against it.)
Excess backing could be folded over to the front as a binding, which would save some cutting, pinning, and sewing work of new material.
But the additional fabric I had bought won out! The dense weave is more robust, won't pill like the flannel, and the colour is more understated.
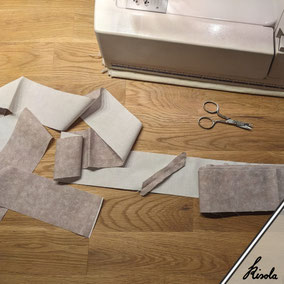
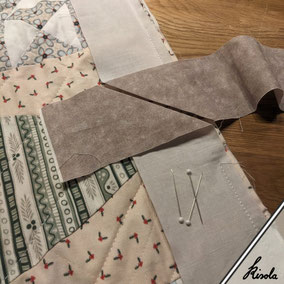
The binding fabric is cut into strips across its entire width, which are then joined end to end to form a continuous band.
The required strip width is determined by the desired binding width on both quilt sides, plus seam allowances.
The required length can be calculated by adding the measurements of all the quilt's side edges — plus a little extra for corners and for safety.
The seams for joining the strips are sewn diagonally so that the seam allowances on the quilt edge won't overlap all in one place.
A perfect activity for relaxing on the sofa after work is pinning the binding tape all around the quilt edge. I usually pin to the front of the quilt, right sides together, as smoothly as possible – not too tight and not wavy.
There's a folding technique for the corners that allows continuous sewing of the binding: once you reach the corner, continue pinning the fabric strips edge along the outer edge of the quilt. Fold the excess fabric in the corner over at a 45° angle and flatten it down.

Since I like to save material while still having a nice wide border on the front, I attach the binding a few millimeters away from the quilt edge.
I'm aiming for a binding width of about 1,5 cm for the front, but don't loose much fabric that will never be seen.
You could also double fold the fabric for the binding (the strips must be double in width for that!) for a particularly durable edge.
Since my quilts are more likely to be used on the sofa than, for example, as a picnic blanket, I'll stick with the single-layer version.
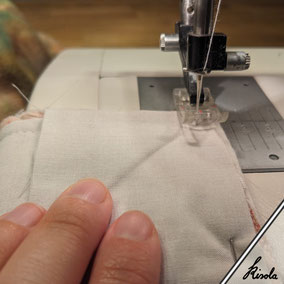
Attaching the binding is the very last long machine seam I'll be sewing on this quilt project.
The binding tape is now sewn all the way around to the front side of the quilt sandwich.
I usually choose a stitch length of about 3 mm so that the stitches are neither too close together nor too long and unstable.

Just before reaching a corner, stop sewing with — this is important! — the needle in the fabric.
The remaining distance to the edge should be the same as the seam allowance width from the previous part of the seam which in my case is a little over one centimeter.
Now lift the presser foot and rotate the quilt 90°. The needle holds the position for you.
Before the next stitch is made in the new direction, the needle is raised using the handwheel, the folded binding tape corner has to be folded backwards, and the needle is reinserted as precisely as possible at the same position from before at end of the seam.
Now the seam can be continued along the outer edge, maintaining the same seam allowance as before.
Almost there! With all corners and sides done, only the ends of the binding need to be sewn together diagonally, just like when joining the individual fabric strips.
The cotton fabric folds very easily by using your fingers. Then secure the binding ends with pins, right along the finger-pressed fold to prevent it from slipping while sewing.

Usually, I start the binding seam about 20cm away from the start of the binding strip and end the seam at about at least 30 cm away from meeting that seam start.
The longer the loose (i.e., the unsewn) ends of the binding fabric strip are, the less fiddly it will be to join them by machine, since the whole big quilt is already attached to it all.
And after trimming the ends of the joined strip ends, the very last short seam is sewn by machine.
A little additional ironing probably couldn't hurt, but I have to admit I skip that additional step most times.
Just align the binding nice and flat, pin again for safety, and run a seam over – done!

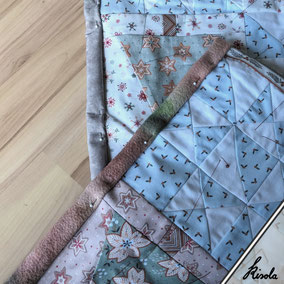
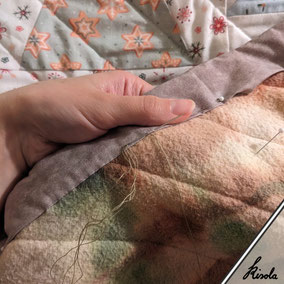
The binding is now folded over to the back and about half a centimeter is tucked in all the way around, and secured with a lot of pins.
I like to stick the pointy ends in the fabric so I won't prick my fingers constantly.
The corners are formed from the folded-over excess fabric from the front seam. Folded into mitered corners, they look quite neat.

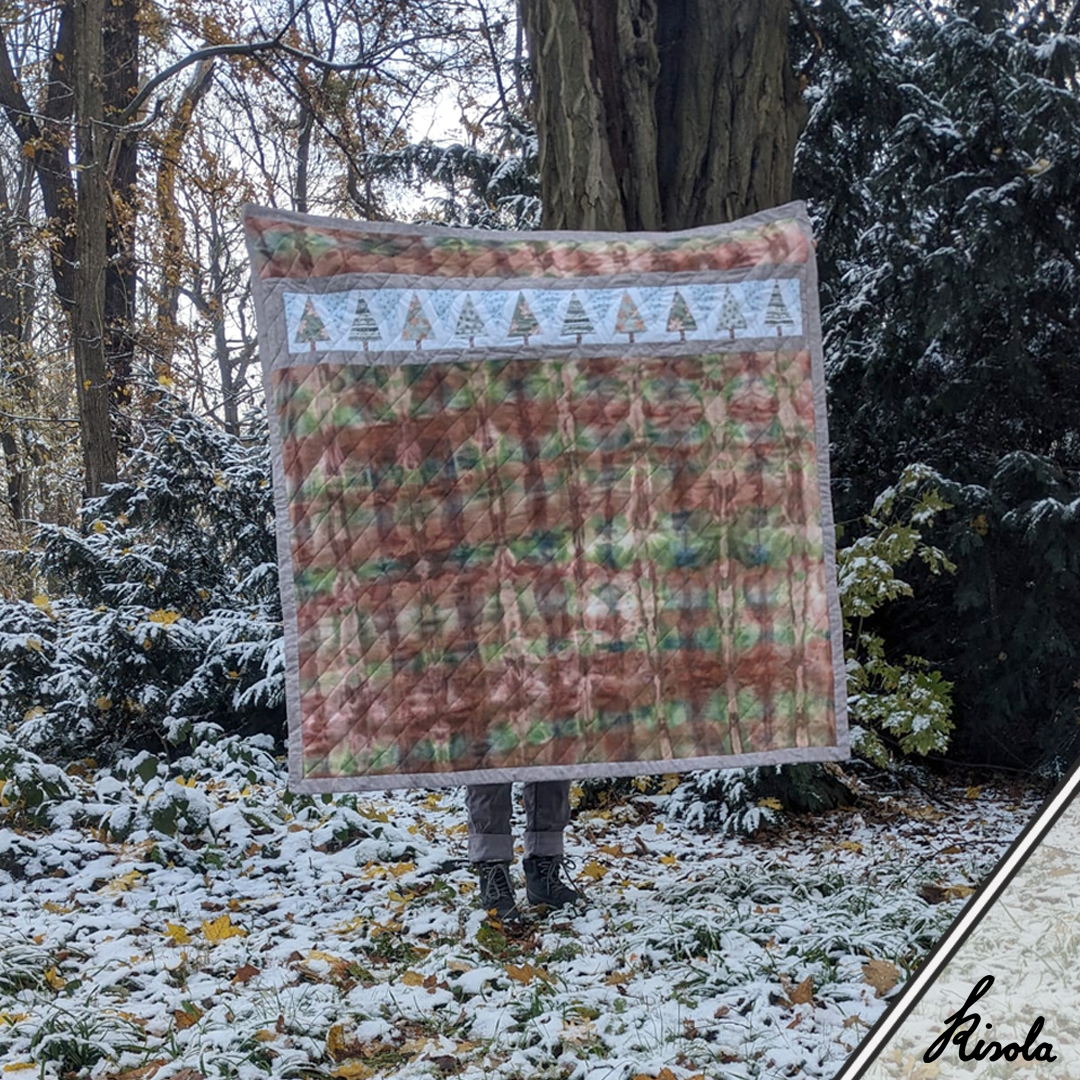
A wider binding on the back side can compensate for minor inaccuracies in the patchwork. For example, the gray fabric piece in the after quilt turned out a little too short and doesn't quite reach the outer edge of the quilt sandwich.
Well . . .
No problem! It will still be caught and covered by the wide binding and no-one will ever know.
This is not mandatory, but I like to do this second part of the quilt binding by hand.
Sitting comfortably on the couch, the quilt on my lap gives a first taste of what it will be like to snuggle up in it once it's finished.
The edge is sewn with small, inconspicuous stitches, spaced about 3-5 mm apart.

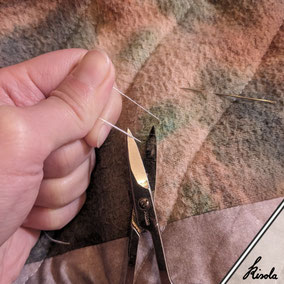
When the thread is running low, I simply tie a new piece on.
First, tuck the end of the old thread in with a few securing stitches, then tie on the new thread, and finally tuck the knot and thread ends away under the binding fabric.
I place the next stitch with the new thread very close to the last from the old thread or do two in one spot for extra durability and then continue as before.
Once the binding is attached on the front and back sides, there's only a little tidying needs to be done, like eliminating any leftover loose threads from the quilting.
For example if a seam had to be restarted after a thread broke or the bobbin ran out, the loose ends are now knotted, stitched away to the side into the thick quilt layers and finally cut off close to the quilt. This secures the seam and makes the ends disappear completely.
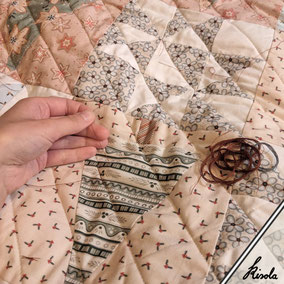
Now the only thing left to do is to remove any remaining threads from the quilt's basting – the whole sandwich of layers is securely sewn together by now, so we don't need them anymore.
I like to wind up the long, undamaged pieces of thread for the next basting session on a future project. The red threads have in the photo already held four different quilt sandwiches together!
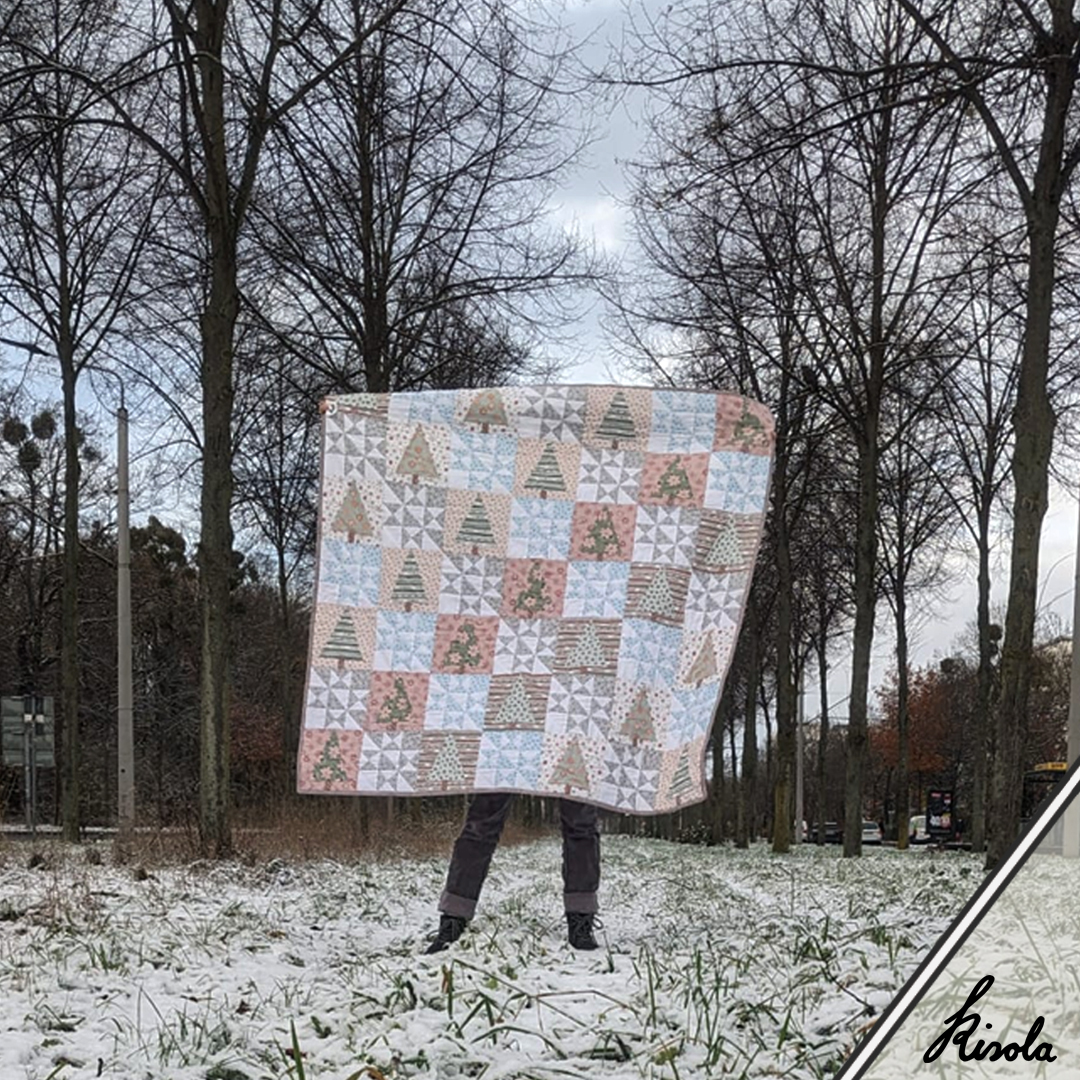
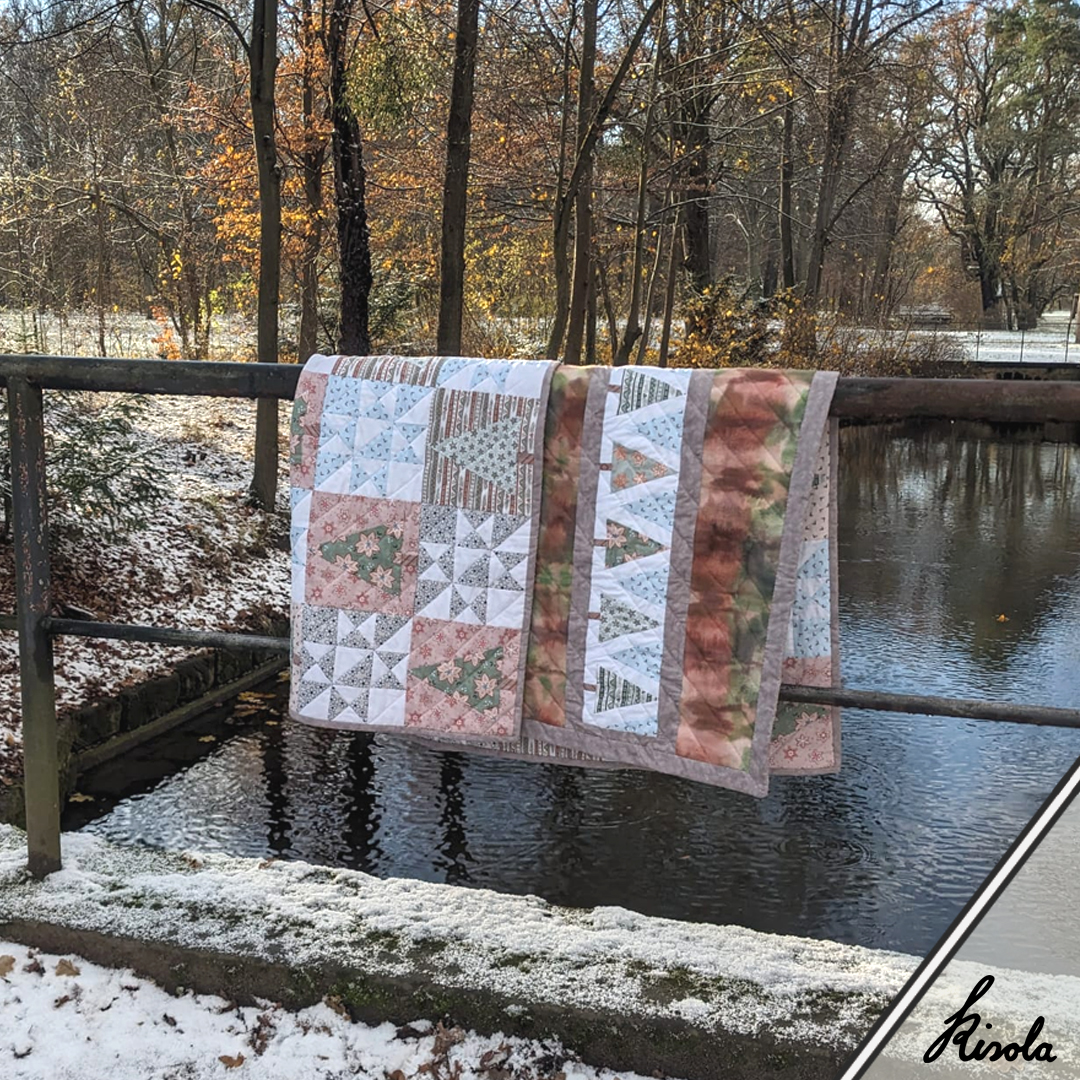


And here it is – the cozy quilt with wintery forest motifs and soft flanel backing. With a bit of snow and a little sunshine outside, it looks really good I think. Of course, it's even nicer for snuggling on the sofa. And I had so much fun sewing it!
If you'd like to sew a Snowy Woods Quilt too, be sure to use Jill Miller's quilt pattern with instructions (link to the quilt pattern), which includes all the information on fabric requirements, cutting, and sewing.
If you decide to use fabrics from the "Natural Christmas" Color Collab collection and share them on social media, please use #snowywoodsquilt and/or #naturalchristmascc! We designers are always thrilled to see our patterns on finished sewing projects and products.
The link to my own pattern collection and the link to the collaborative collection can be found on the right (desktop) or below this last text (mobile).
Happy sewing!